Have you ever spent a ton of money on craft supplies only to never use them because you don’t have time to make a said craft? Sometimes, we spend more time shopping for supplies than we do making crafts. It’s hard to make time for crafting, and let’s face it… sometimes it can be intimidating to even start!
This is where Chalk Couture has revolutionized my crafting life. Picture this – you go to the store, find a blank item, buy a blank item, take it home, apply for transfer and paste, and IT’S DONE JUST LIKE THAT.
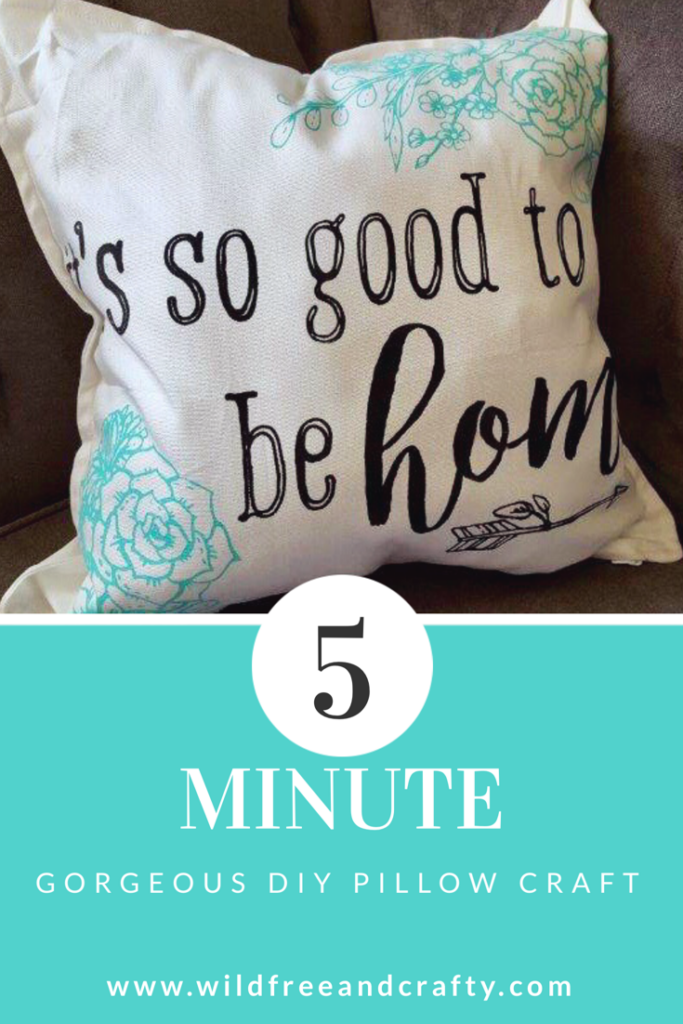
I made this pillow in literally 5 minutes. First, you’ll need a pillow cover. Pillow covers are available at most craft stores. I purchased mine at IKEA. I have found that the material of IKEA covers work very well with Chalk Couture. Chalk Couture also now makes many of their own blanks, so you can get covers through them too!
Open up the pillow cover and put an ink mat between the layers. You will need to “fuzz” your transfer after you remove the backing, which means pressing it onto a clean towel a couple of times. This helps the transfer to not be too sticky or leave residue on your surface. You can then line up the transfer and press it down. For permanent designs, you will need to use Chalkology Ink. Scoop some out and spread it onto the transfer using either a small squeegee or the handheld squeegee. After the ink is spread thin, the remaining ink back into the container and removes the transfer. Voila!
You will want to either a heat press or iron the design to make it permanent. If you are ironing, place a towel over the design and press the iron on its highest heat setting for 30 seconds in each spot.
Fill the pillow with Polyfil or a pillow insert to complete your project.
You will be in love when you discover how easy and quick Chalk Couture projects can be! For more information on our products or to join my team, check out the Chalk Couture website.