Water damage is the single most common defect in Australian residential construction. For homeowners in Sydney, Melbourne, Brisbane, and beyond, ensuring a watertight bathroom isn’t just about aesthetics—it is a structural necessity. Whether you are embarking on a full renovation or a minor refresh, understanding Bathroom Waterproofing 101: A Step-by-Step Guide for Australian Homeowners is essential to protecting your investment and complying with national building standards.
In Australia, waterproofing must adhere to strict regulatory frameworks to combat the high humidity and variable climate conditions found across the states. This guide breaks down the technical complexities into actionable steps, ensuring your wet areas remain dry, durable, and compliant for decades to come.
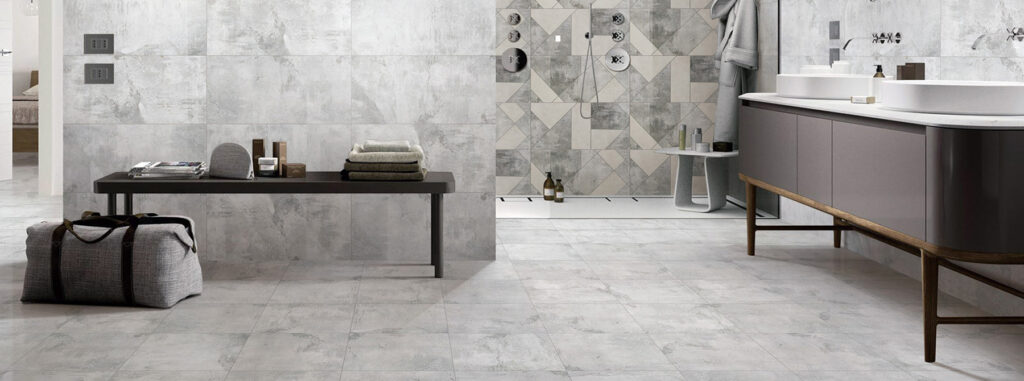
See more: A Complete Guide to Installing Herringbone Tiles Like a Pro
What is Bathroom Waterproofing and Why is it Critical?
Bathroom waterproofing involves the application of a specialized liquid membrane or sheet-based barrier beneath the tiled surface. This barrier prevents water from penetrating the structural substrate of the building, such as the floorboards, wall studs, or concrete slab.
The Role of AS 3740-2010
In Australia, all internal wet area waterproofing must comply with Australian Standard AS 3740-2010. This standard dictates which areas must be waterproofed and to what extent. Failure to meet these standards can lead to:
- Structural Rot: Water seepage can decay timber frames and cause “concrete cancer” in slabs.
- Mould and Mildew: Persistent moisture creates health hazards and ruins indoor air quality.
- Insurance Denials: Most Australian insurers will reject claims for water damage if the waterproofing is found to be non-compliant.
Core Components of an Australian Waterproofing System
A successful installation relies on a “system” rather than a single product. To achieve topical authority in your renovation project, you must understand these three pillars:
1. The Substrate Preparation
The substrate (the floor or wall surface) must be structurally sound, dry, and free of dust or oils. In Australia, we typically deal with fiber cement sheeting (Villaboard) on walls and either compressed scion sheeting or concrete slabs on floors.
2. Bond Breakers and Sealants
At the intersection where walls meet floors (the “change of direction”), buildings naturally move. A bond breaker—usually a specialized tape or neutral-cure silicone—allows the membrane to stretch without tearing during building expansion and contraction.
3. The Waterproofing Membrane
The most common choice for Australian DIYers and professionals alike is a Class III High Extensibility Liquid Membrane. These are water-based, easy to apply with a brush or roller, and designed to move with the building.
Benefits of Professional-Grade Waterproofing
Investing time and quality materials into your waterproofing provides long-term dividends:
- Property Valuation: A certified waterproofed bathroom is a major selling point during building inspections.
- Maintenance Reduction: Preventing sub-surface moisture means your grout and tiles stay bonded longer.
- Structural Integrity: It protects the “bones” of your home from the silent threat of slow leaks.
Real-World Use Case: The “Leaking Shower” Scenario
Consider a standard 1980s brick-and-tile home in Perth. Over time, the original copper tray or early-gen membrane fails. Water begins to wick into the hallway carpet or manifest as bubbling paint on the backside of the bathroom wall. By applying a modern, multi-coat membrane system during a renovation, the homeowner transitions from a high-risk structural liability to a low-maintenance, modern wet area.
Step-by-Step Guide to Bathroom Waterproofing
Follow this framework to ensure your bathroom meets Australian standards.
Step 1: Preparation and Cleaning
Remove all debris. Ensure the floor has a “fall” toward the waste (drain) to prevent pooling. Vacuum the entire area; even a small amount of dust can prevent the membrane from bonding.
Step 2: Priming the Surface
Apply a primer compatible with your chosen membrane. Priming seals the porous substrate and ensures the liquid membrane adheres correctly.
- Tip: Use a moisture-vapour barrier primer if applying over green (new) concrete.
Step 3: Installing Bond Breakers
Apply a neutral-cure silicone or reinforcing fabric tape to all internal corners, floor-to-wall joints, and around the shower waste. This ensures the membrane remains intact even if the house settles slightly.
Step 4: The First Coat
Start with the “puddle flange” (the drain area) and the wall-to-floor junctions. Extend the membrane:
- Shower Walls: Up to at least 1800mm high.
- Bathroom Floor: The entire floor area is best practice, though the standard requires specific distances from the shower rose.
Step 5: The Second Coat
Wait for the first coat to dry (usually 2–4 hours depending on humidity). Apply the second coat perpendicular to the first. This “cross-hatching” technique ensures there are no pinholes or thin spots.
Step 6: The Curing Phase
Allow the membrane to cure for at least 24–48 hours before tiling. In colder climates like Tasmania or during a Melbourne winter, this may take longer.
Australian Waterproofing Requirements Table
| Area | Minimum Requirement (AS 3740) | Recommended Best Practice |
| Shower Floors | Full floor waterproofing | Full floor + 100mm up walls |
| Shower Walls | Up to 1800mm from floor | Up to ceiling height |
| Bathroom Floors | Enclosed showers: 1500mm radius | Full floor coverage |
| Step-down/Hob | Must be fully tanked | Integrated with floor membrane |
Common Mistakes to Avoid
- Skipping the Primer: Without a primer, the substrate will suck the moisture out of the membrane too quickly, causing it to crack.
- Inadequate Curing Time: Rushing to tile over a “tacky” membrane will cause the system to fail.
- Ignoring the Puddle Flange: The connection between the floor and the drain is the most common leak point. Ensure the membrane is tucked into the flange correctly.
- Incorrect Vertical Heights: Ensure the water-stop angle (the metal strip at the door) is installed and waterproofed to prevent water from traveling into the hallway.
Advanced Tips for Long-Term Rankings
- Flood Testing: Once cured, plug the drain and fill the shower base with 25mm of water for 24 hours. If the level remains the same, your seal is perfect.
- Documentation: Take photos of every stage of the waterproofing process. This is invaluable for building certifiers and future buyers.
FAQ Section
1. Can I do my own bathroom waterproofing in Australia?
In some states, like Queensland and NSW, waterproofing must be performed by a licensed professional to receive a compliance certificate. Always check your local state building authority (e.g., Fair Trading or VBA) before starting.
2. How long does bathroom waterproofing last?
A high-quality, correctly installed membrane system should last 15 to 25 years. However, movement in the building’s foundation can occasionally cause premature failure.
3. What is the difference between a puddle flange and a standard drain?
A puddle flange is a wide-rimmed fitting that allows the waterproofing membrane to be sealed directly to the drainage pipe, ensuring any water that gets under the tiles is directed into the waste.
4. Do I need to waterproof the entire bathroom floor?
While the standard allows for partial waterproofing in some layouts, modern best practice in Australia is to waterproof the entire floor to prevent damage from accidental overflows or plumbing leaks.
5. How many coats of waterproofing are needed?
A minimum of two coats is required. The finished thickness (Dry Film Thickness) must meet the manufacturer’s specifications to be effective.
Conclusion: Securing Your Bathroom’s Future
Understanding Bathroom Waterproofing 101: A Step-by-Step Guide for Australian Homeowners is the best way to ensure your renovation stands the test of time. By selecting the right Class III membrane, respecting AS 3740 standards, and allowing for proper curing, you eliminate the risk of costly structural repairs.
Next Steps: Consult with a licensed waterproofer to review your plans, or head to your local specialized hardware store to select a membrane system that carries the Australian Standard watermark.
Internal Linking Suggestions (Anchor Text Only)
- bathroom renovation costs Australia
- how to tile a shower base
- choosing the right floor waste
- asbestos identification in old bathrooms
Authoritative External References
- The Australian Building Codes Board (ABCB) – National Construction Code
- Standards Australia – Guide to Internal Wet Area Waterproofing