Introduction
Herringbone tiles have long been celebrated for their timeless charm and versatility in modern home design. From herringbone bathroom tiles to stunning kitchen backsplashes and flooring, their distinct zig-zag pattern adds elegance, depth, and texture to any space.
If you’ve been considering a herringbone installation, whether in your kitchen, bathroom, or throughout your home, this guide will walk you through everything you need to know—from planning and preparation to installation techniques, design inspiration, and maintenance tips. By the end, you’ll feel confident about achieving a professional finish.
The History and Timeless Appeal of Herringbone Tiles
Herringbone patterns trace their origins to the Roman Empire, where bricks were laid in a zig-zag formation to increase stability in roads. Over centuries, the pattern transitioned into textiles, wood flooring, and tile design, becoming a symbol of sophistication.
The reason herringbone remains a favorite in modern home design is its ability to blend classic charm with contemporary aesthetics. Its versatility allows homeowners to create everything from subtle elegance to bold statement features, ensuring the pattern stays stylish across generations.
Why Choose Herringbone Tiles for Your Home?
Herringbone tiles offer both functional and aesthetic benefits:
- Visual Depth: The angled design adds movement, making small spaces feel larger.
- Versatility: Works with ceramic, porcelain, marble, or natural stone.
- Statement Design: Perfect for floors, walls, backsplashes, and accent features.
- Timeless Elegance: Complements both traditional and contemporary interiors.
Whether you’re renovating your bathroom, kitchen, or living area, herringbone tiles instantly elevate the look of any room.
Best Areas to Use Herringbone Tiles
1. Herringbone Tile Flooring
Herringbone tile flooring creates a striking foundation in kitchens, bathrooms, and hallways. Porcelain and ceramic tiles are ideal for durability and easy maintenance, while marble adds luxury. The pattern also improves room proportions by drawing the eye along diagonal lines.
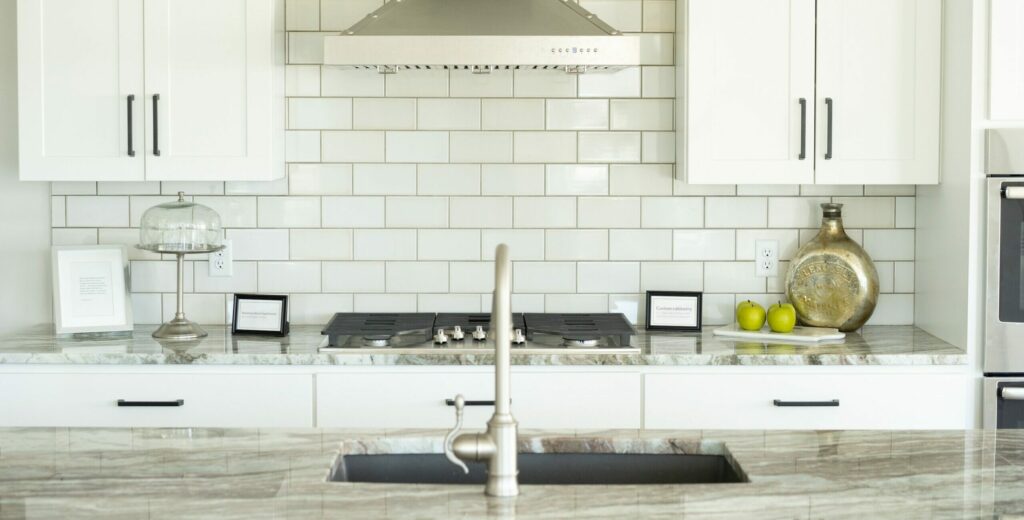
2. Herringbone Kitchen Tiles
Using herringbone kitchen tiles as a backsplash adds sophistication without overwhelming the space. Pairing glossy tiles with matte cabinetry creates a balanced, contemporary look.
3. Herringbone Bathroom Tiles
Bathrooms benefit from herringbone’s depth and texture. From full-height walls behind vanities to shower niches, the pattern transforms the room into a spa-like retreat. Light colors enhance brightness, while darker shades add drama.
4. Feature Walls and Accents
Herringbone tiles also work beautifully as accent walls, around fireplaces, or on half-walls to add interest without excessive cost. Even small areas, like niches and shelves, benefit from the pattern’s visual impact.
Step-by-Step Guide to Installing Herringbone Tiles
1. Preparation and Planning
- Measure Your Space: Calculate the square footage to determine tile quantity.
- Choose Materials: Porcelain, ceramic, marble, or natural stone—each offers a different look.
- Gather Tools: Tile cutter, spacers, level, trowel, adhesive, and grout.
2. Lay Out Your Pattern
- Start from the center of the wall or floor for balance.
- Use a chalk line or laser level to guide placement.
- Dry-lay a few rows to visualize the pattern and make adjustments.
3. Apply Adhesive
- Spread tile adhesive evenly with a notched trowel.
- Work in small sections to prevent the adhesive from drying too quickly.
4. Place Tiles
- Position each tile carefully, maintaining consistent angles.
- Use spacers to keep grout lines uniform.
- Cut tiles as needed for edges and corners.
5. Grouting
- Allow adhesive to dry before applying grout.
- Use a rubber float to press grout into gaps and wipe excess with a damp sponge.
- Seal grout lines if using natural stone or porous tiles.
Design Tips for a Professional Finish
- Contrast Grout: Dark grout on light tiles highlights the pattern; light grout creates a subtle look.
- Tile Size Matters: Larger tiles create a modern statement, while smaller tiles offer intricate detail.
- Mix Materials: Combine matte and glossy finishes, or different materials like marble and ceramic, for a custom look.
- Balance the Space: Avoid overcrowding the room; pair herringbone tiles with simpler walls or cabinetry.
Maintenance Tips for Herringbone Tiles
Keeping your herringbone tiles looking pristine is straightforward:
- Regular Cleaning: Use mild soap and water to prevent buildup.
- Avoid Harsh Chemicals: Protect finishes from scratches or discoloration.
- Seal Porous Tiles: Marble or natural stone tiles should be sealed to prevent staining.
- Quick Wipe-Downs: Especially in bathrooms and kitchens, dry surfaces to prevent water marks.
Conclusion
Installing herringbone tiles may seem challenging, but with careful planning and attention to detail, anyone can achieve a professional-looking result. From floors and backsplashes to feature walls and bathrooms, herringbone patterns bring timeless elegance, depth, and sophistication to any modern home. With proper installation and care, these tiles can transform spaces while standing the test of time.
FAQs
Herringbone tiles require precision due to their angled pattern, which can be more complex than standard layouts. While small areas can be DIY projects, professional installation is recommended for larger spaces to ensure perfect alignment and a polished finish.
Herringbone tiles are versatile, suitable for floors, walls, kitchens, bathrooms, and even feature walls. They enhance visual depth, texture, and elegance in any space, making them a popular choice for homeowners seeking timeless design.
Popular materials include porcelain, ceramic, marble, and natural stone. Porcelain and ceramic offer durability and affordability, while marble adds luxury. The best choice depends on budget, design goals, and the intended space.
Yes, herringbone tiles create the illusion of depth and movement, making small rooms appear larger. Using light-colored tiles and minimal grout enhances the effect, ideal for compact kitchens or bathrooms.
Regular cleaning with mild soap and water is sufficient. Avoid harsh chemicals that could damage the finish, and seal natural stone or porous tiles to prevent staining. Quick wipe-downs keep the tiles looking pristine.